Mosaic Installation: A Comprehensive Guide
Each mosaic is quick and simple to install and does not require any special tools or skills.
All pieces could be fixed in any place indoor or outdoor.
The Mosaic is supplied directly from the factor glued to a fiber mesh backing, ensuring that each of the hand-cut marble mosaic tile remains firmly in place during shipping. The mosaic is shipped rolled like a carpet.
Installation of the Mosaic is carried out in a similar manner as installing standard ceramic tiles. Although there is no need for mosaics to be installed by a professional, we would recommend this for larger mosaics.
To install it on the wall or on the ceiling, you can glue it to a wood panel and fix the wood panel to the wall.
Please follow the below steps:
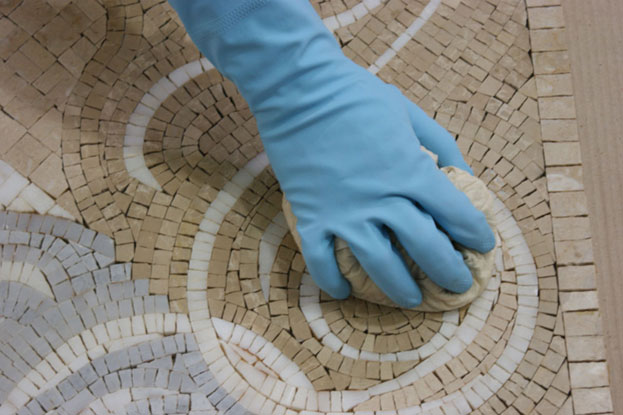
- Before starting, clean the surface where you want to lay the mosaic, then gently clean the mosaic with a dry cloth.
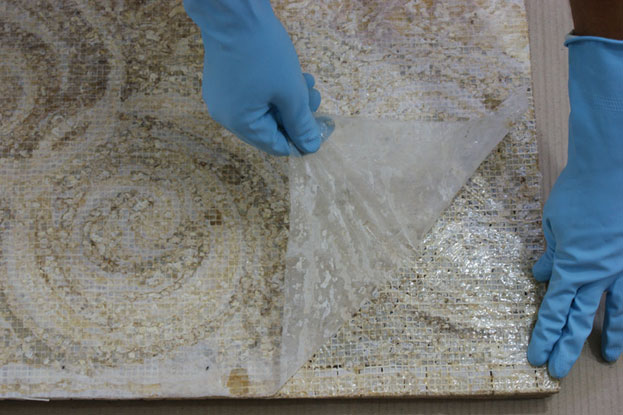
- The mosaic is supplied directly from the factory glued to a fiber mesh backing. Gently remove it before installation.
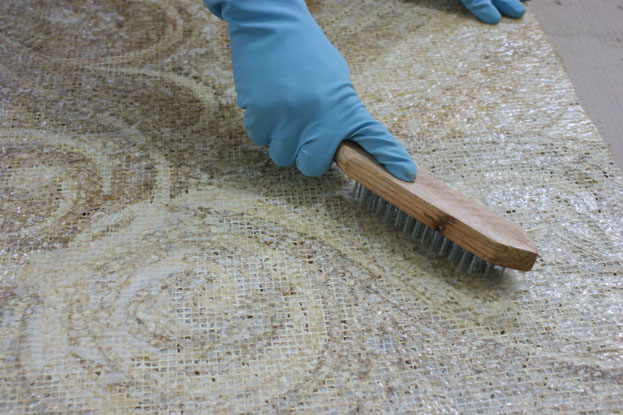
- With a metal brush gently remove all excess dry glue on the backing of the mosaic.
- Clean all the remaining small particles left from scrubbing with a vacuum cleaner.
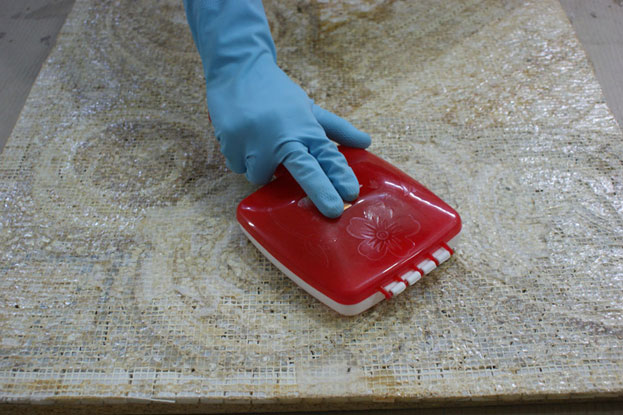
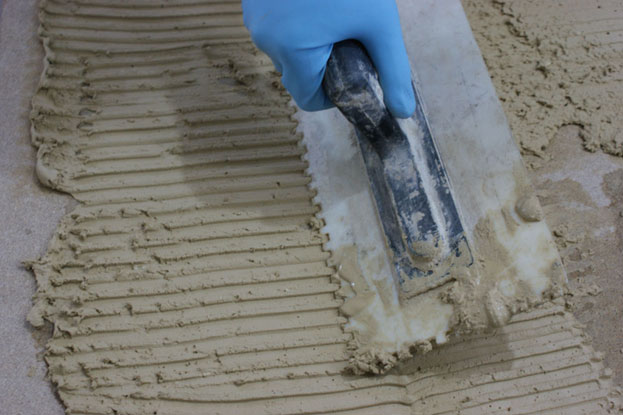
- Apply the tile adhesive to the area where the mosaic should be installed. Place and level the mosaic into the tile adhesive, utilizing a wooden block to even the level of the mosaic tiles.
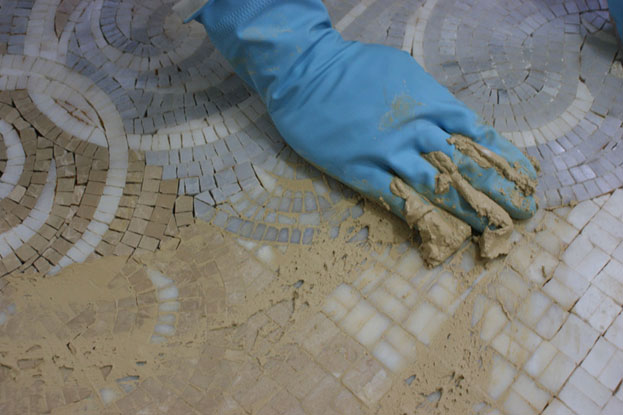
- After 24 hours, prepare a non sanded grouting mix and grout the surface of the mosaic.
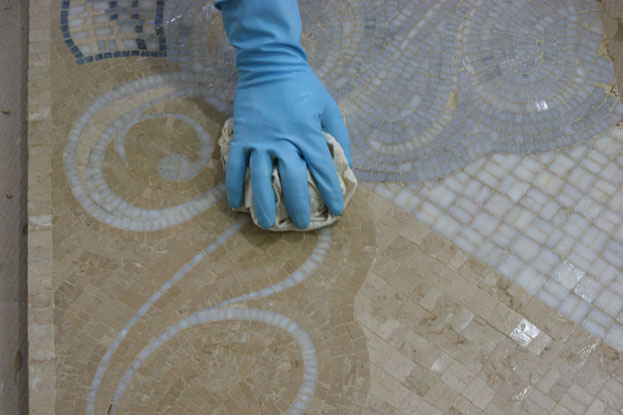
- Gently remove any excess grouts from the mosaic with a damp cloth. To ensure maximum cleanliness you can clean the surface with a wet sponge.
- Once the tile grout is dry, apply a marble tile sealant (available from most leading DIY stores) to the mosaic to seal the marble and bring out the individual characteristics of each tile.

- Enjoy the life-long beauty of your very own, unique marble mosaic.
